


Materials:
- Fabric that is 4 inches x 40 inches or 3inches x 40 inches
- Keyring, D-ring, or lanyard swivel clasp.
- Basic sewing stuff (machine, thread, scissors, etc.)
- I recommend making sure your thread matches your fabric because you can see the thread!
Time: 20-30 minutes.
First you are going to want to get your piece of material cut out. For the first lanyard I did 4 inches x 42inches (again, i don't care about super precise measurements)

Next you are going to iron the strip of material so that the edges of the material meet in the middle on the wrong side of the fabric. This step technically isn't required but makes sewing it a lot easier.


Now you are going to fold it in half to hide the raw edges and iron it again.


Now you want to add whatever piece you are using to make it a lanyard (I use a swivel hook now but used to use plain key chain rings. Both work well. You can also use a D-ring if desired.)

You will now sew the two open ends together. Undo the ironing you just did at the end of each piece and sew the pieces with right sides together to make a continuous loop. Then iron the seam flat.


Now refold along your ironed lines so you can sew it into a lanyard.
When sewing the first side, I always start with the "open" side but you can start on either side and it doesn't really matter. You will have to move the ring out of your way as you sew.

Once you get that side sewn all the way around it should look like this:
If you really wanted to, you could stop here. I don't recommend that. Next you sew sound the other side in the same manner.

Once you get that part done your lanyard should look kinda like this:

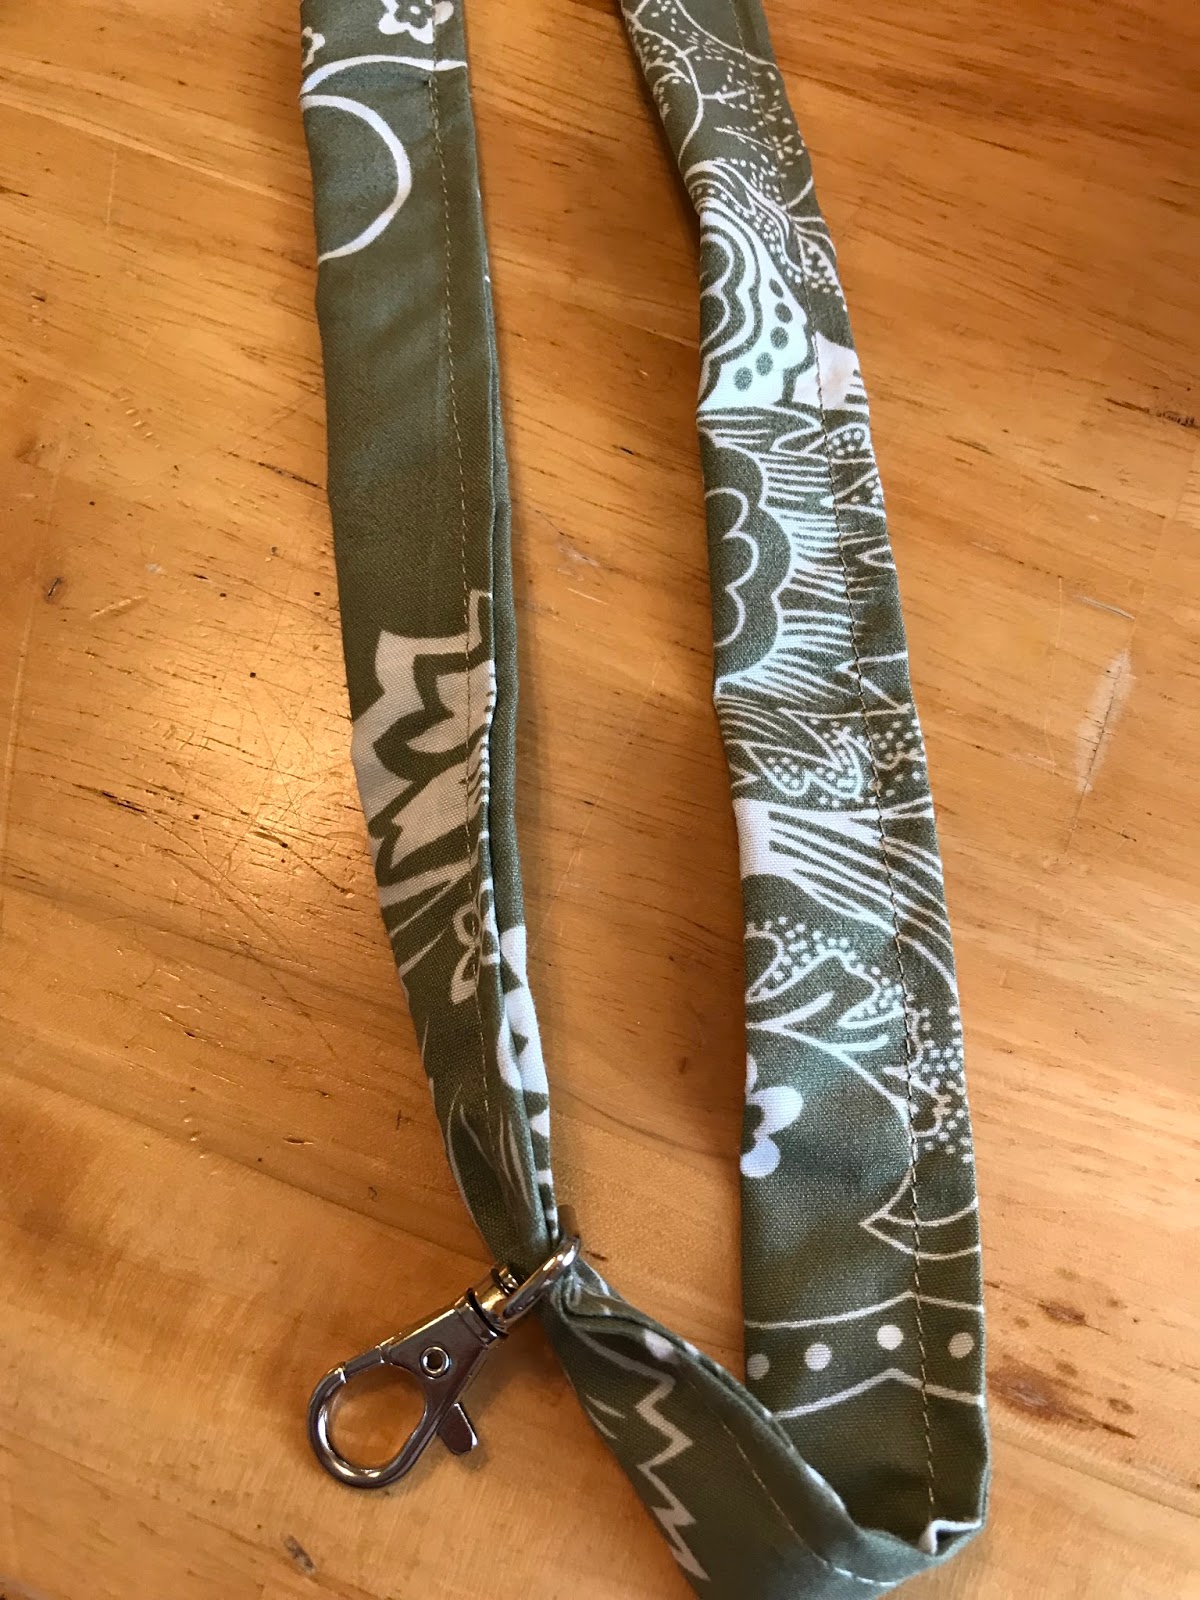
You can be done here or do what I do. I always sew the ring in place so it is more of a lanyard.

This one is complete!
The second option for this lanyard project:
If you are using scraps (my favorite way!) then this is the method to follow. Almost everything is the same except how you start the project.
Instead of having one long piece of fabric you will have scraps of the fabrics you are using. For my tutorial I used scraps that are 3 inches x 4 inches and the final length of all the scraps should be about 40 inches.

Once you get all your materials cut out you will need to sew them together to make a long strip.


Once you have your long strip made you are going to do everything the same as you did for the first lanyard. I am not gonna rewrite the instructions but I will add the pictures of the steps for this one. My strip of fabric was about 3 inches x 39 inches.


Iron, Sew, and Finished!
This is also the exact same way I make my straps for all my bags/projects, the only real difference being that I don't close the circle or use a ring when I am making it as a strap.
This is a pattern I figured out myself after learning how to make straps for bags.
Leave me a comment if you have any questions!
No comments:
Post a Comment